There’s a boy sitting across from me. He clocked me as soon as he walked through the door. Went to the bar. Got a drink. Sat.
He’s working up to talking to me.
I’m keeping an eye on him. Can’t help it. But he’s probably going to take it the wrong way.
I have to admit, he is stunning. The epitome of what you’d expect from a Swedish boy. Dark blonde hair pulled back into a low man bun. A closely cropped beard hugging chiselled features. Pale blue eyes. And importantly, perfect eyebrows. He’s around my height, but a little on the skinny side for me.
Impeccably dressed.
He can’t be more than twenty-two, twenty-three. But Nordic folk look deceptively young.
He’s up.
Walks to me.
Are you lost? He asks, with a slight North American twinge in his otherwise Swedish accent.
No.
Why do you have the map?
Just checking I’m where I’m supposed to be.
Are you?
Yes.
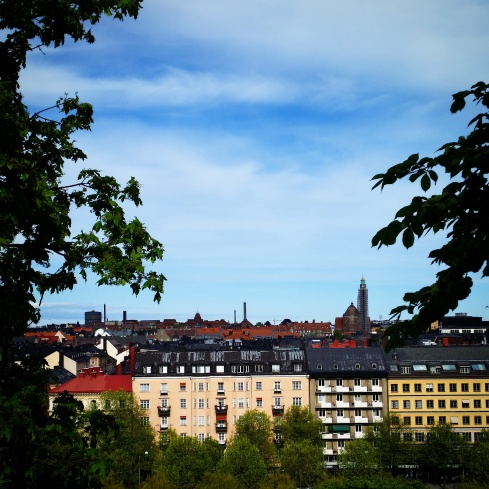
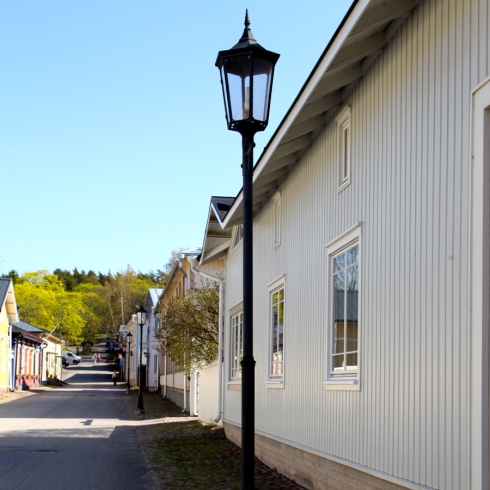
In truth, I’ve no idea where I am, or how I got here. I know I’m not far from where I want to be, but I’ve had a tendency to turn around on myself.
Are you waiting for someone?
No.
My friend is late. Can I sit with you?
Fuck it, what have I got to lose? It’s a public place. I’m intrigued. And maybe a little bored.
I gesture – sure.
Can I buy you another? He nods at my drink.
The glass is still three quarters full.
I take a sip. Just the one for me today. Thanks.
He takes the seat. Removes his jacket and hangs it over the arm.
What’s your name?
Stevie, I say.
Funny. He laughs. My name’s Steve.
It’s not.
Really? You don’t look like a Steve.
He’s not.
His name is Sven. But that’s too Swedish, he tells me. Steve is better.
Where are you from?
Melbourne.
Oh. That’s quite far.
It is, I say over the top of my glass.
He points to my ring.
You’re engaged? He asks.
Married.
Where’s your husband?
I’ve been told of the curious nature of some Swedes. Potentially a little too curious at times. And their interest in bettering their English. Seems I’m practice.
Melbourne.
Wow.
Wow?
You’re here, and he’s there?
Yes.
He loves you?
I’m not sure where he’s going with this line of conversation…
I’d say so.
I don’t know that I’d let my wife travel so far without me.
Back’s up. The L word. My husband doesn’t let me anything. But I give him the benefit of the doubt. English being his second language, maybe it’s a poor choice of words.
Nope.
Ha! A challenge. I’ve had a drink, and am in the mood for, let’s call it, a ‘discussion’, or, better yet, a ‘lesson’.
This is where he stumbles. Sven, sorry, Steve, clearly has very particular views on the world, relationships, marriage. However, when it comes to his own pants, their contents and their removal, it’s another story – at least for the time being.
Right now, Sven is waiting for his girlfriend, but it turns out he also has a boyfriend.
Which is fine, if that’s his arrangement.
All the while he’s flirting with me, despite not being impressed that I’m here without my husband in tow, or, more correctly, my husband keeping me in tow.
Married lady, a turn on?
Married lady who doesn’t ask permission, a challenge?
We talk for forty minutes or there abouts. I’m both amused and bemused. He is exactly the puppy he seems.
Young. Full of ideas. Full of knowledge. Absent experience.
She arrives. Scans the room. Comes to our table.
He stands. Kisses her. Passionately.
Clearly for my benefit.
She’s cute, sure. But quickly comes across as having fuck all in the way of self confidence. And she looks as though she just walked out of an Urban Outfitters window display.
This is my new friend Stevie, he says.
Hey. She gestures as she places a hand firmly on his shoulder.
Don’t worry, Love. I’ve no interest in breaking in the un-housebroken.
Hey, I say.
Do you want to join us? He asks me.
I down the dregs of my drink. Put on my jacket. Get up from my chair.
He goes to stand.
Don’t get up, I gesture.
It was lovely meeting you, I say. To her.
I leave.